Quick Start
New here? No worries — going from install to your first submitted issue takes about five minutes. Walk through this flow once and the rest comes naturally.
1. Install
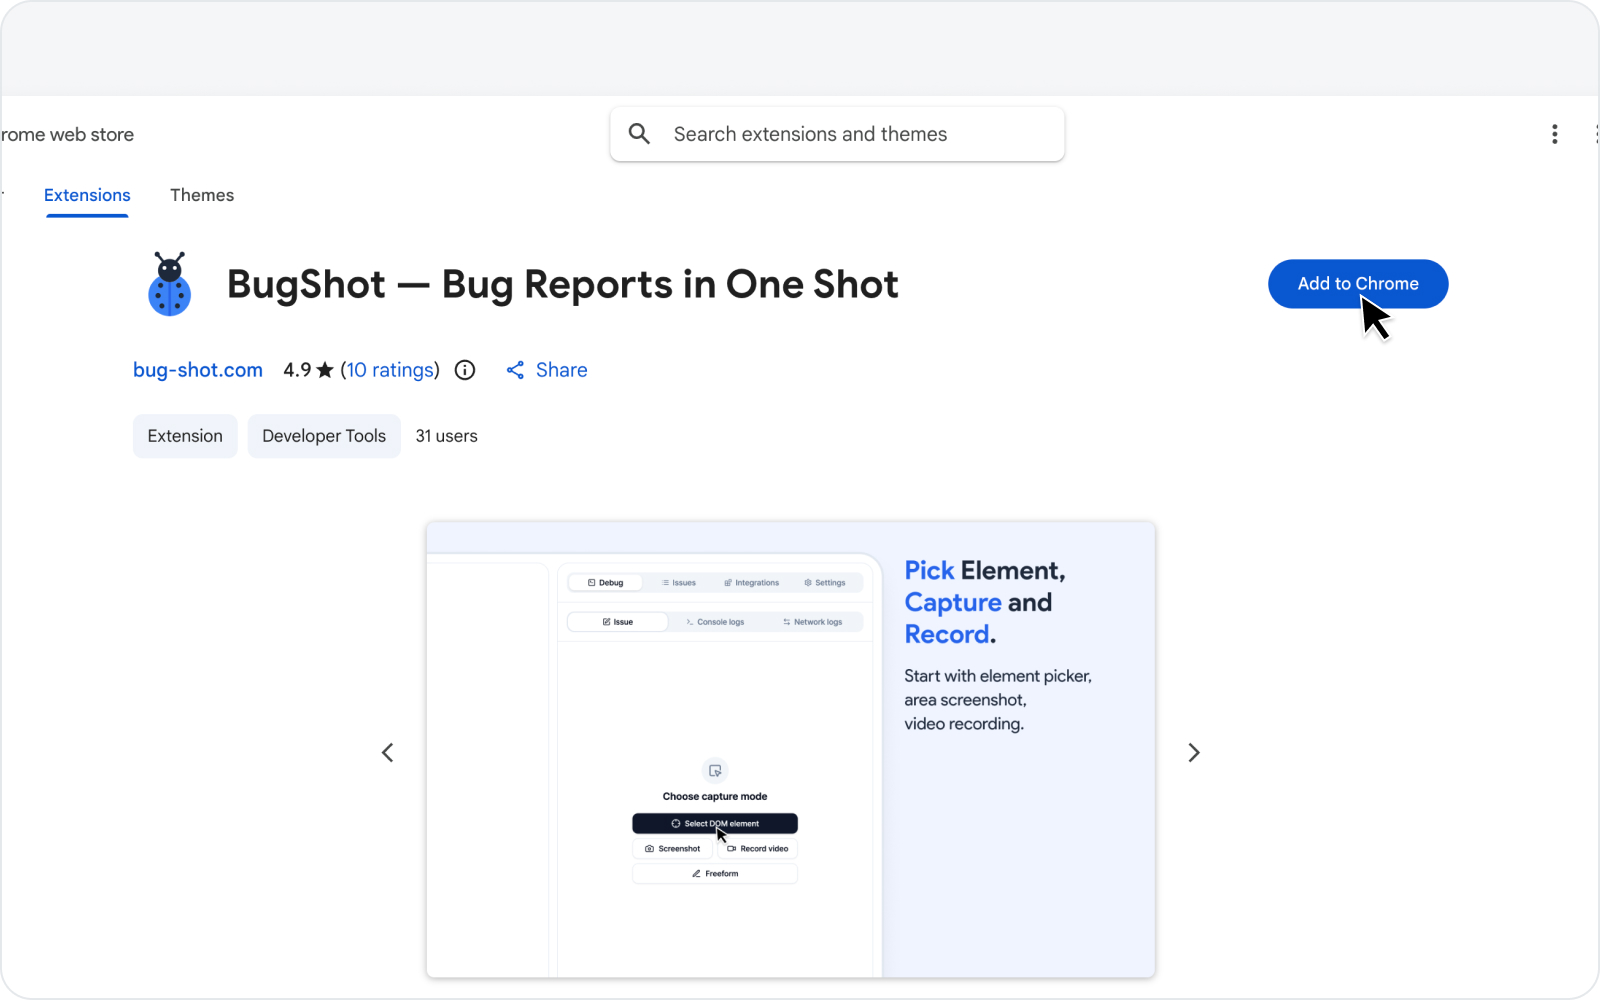 Chrome Web Store install page
Install BugShot from the Chrome Web Store. A BugShot icon shows up in your toolbar.
2. Open the side panel
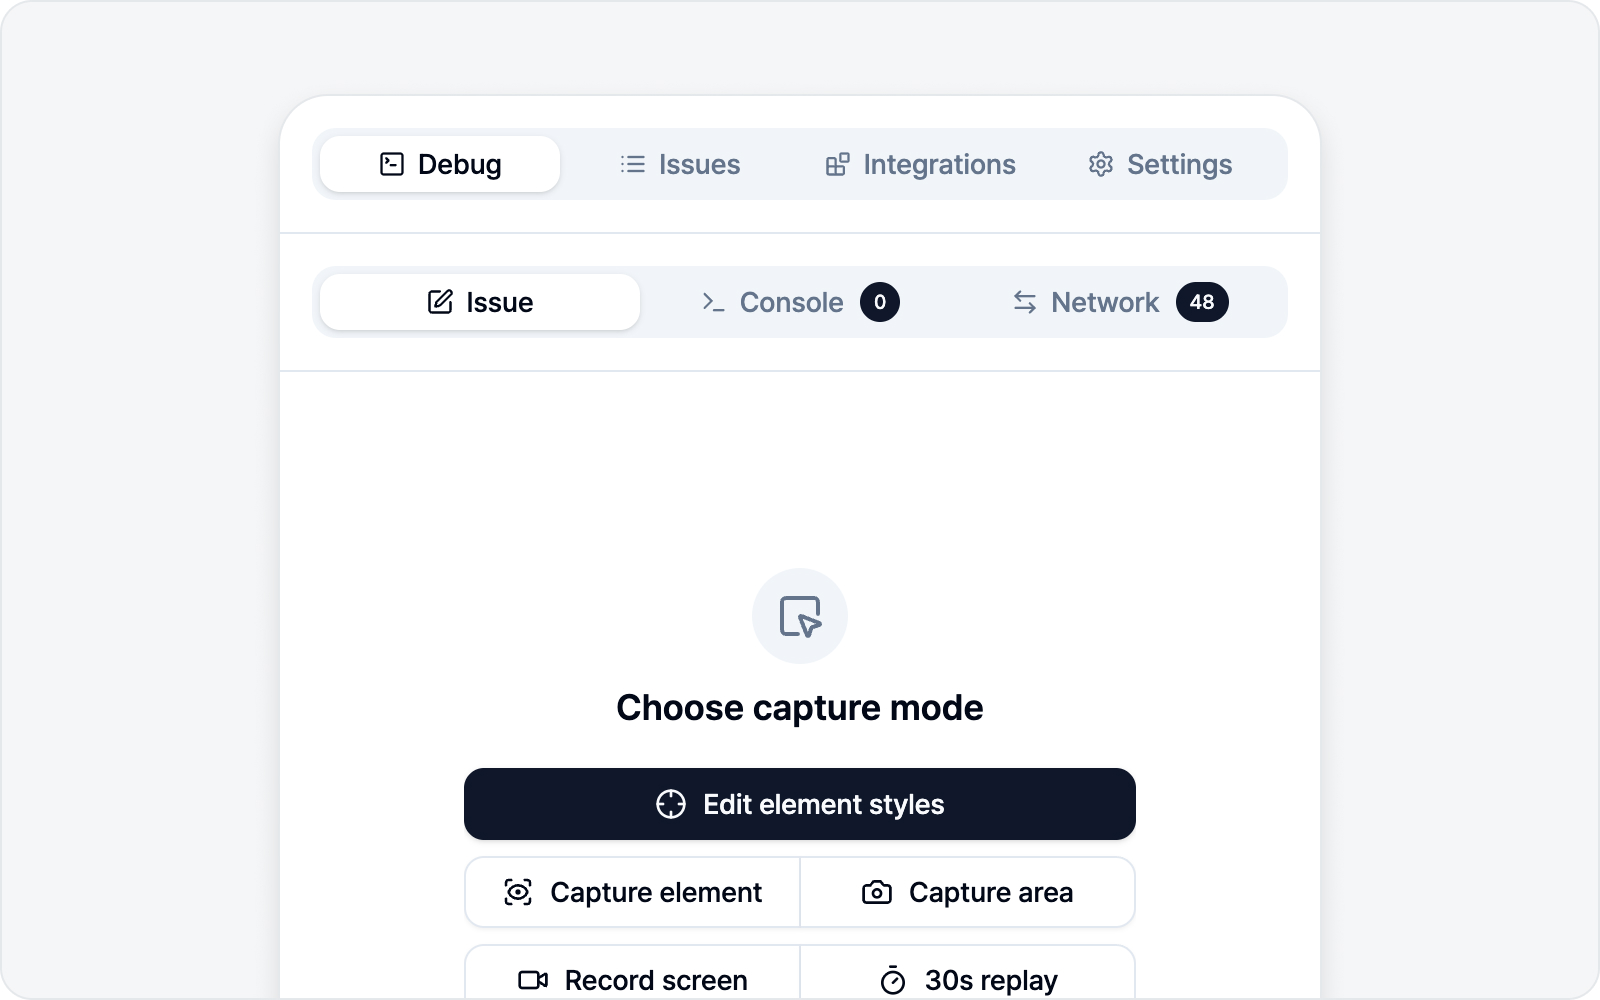 The side panel opened
Click the BugShot icon in the toolbar, or press Cmd/Ctrl+Shift+E to open the side panel.
If the shortcut doesn't respond, it may be clashing with your OS or another extension — just open it from the toolbar icon instead.
3. Connect a platform
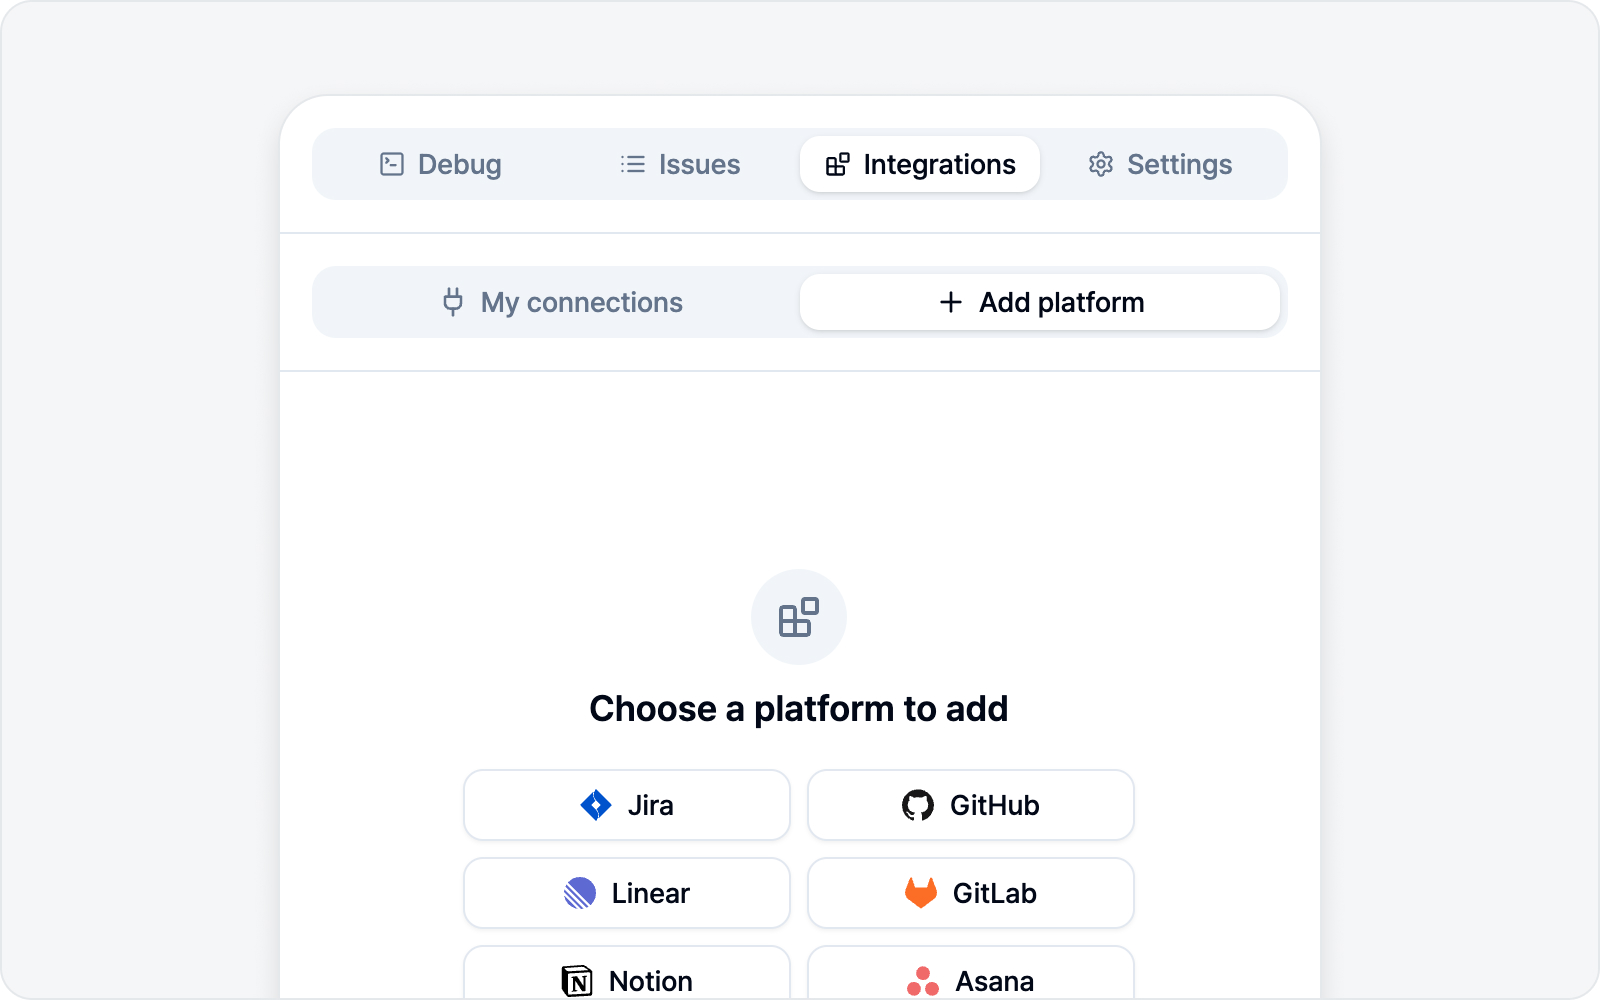 Connecting a platform in the Integrations tab
To file an issue you need at least one platform connected. In the Integrations tab, just connect one of Jira, GitHub, Linear, Notion, GitLab, Asana, or ClickUp. Connecting Platforms walks you through it step by step.
4. Capture
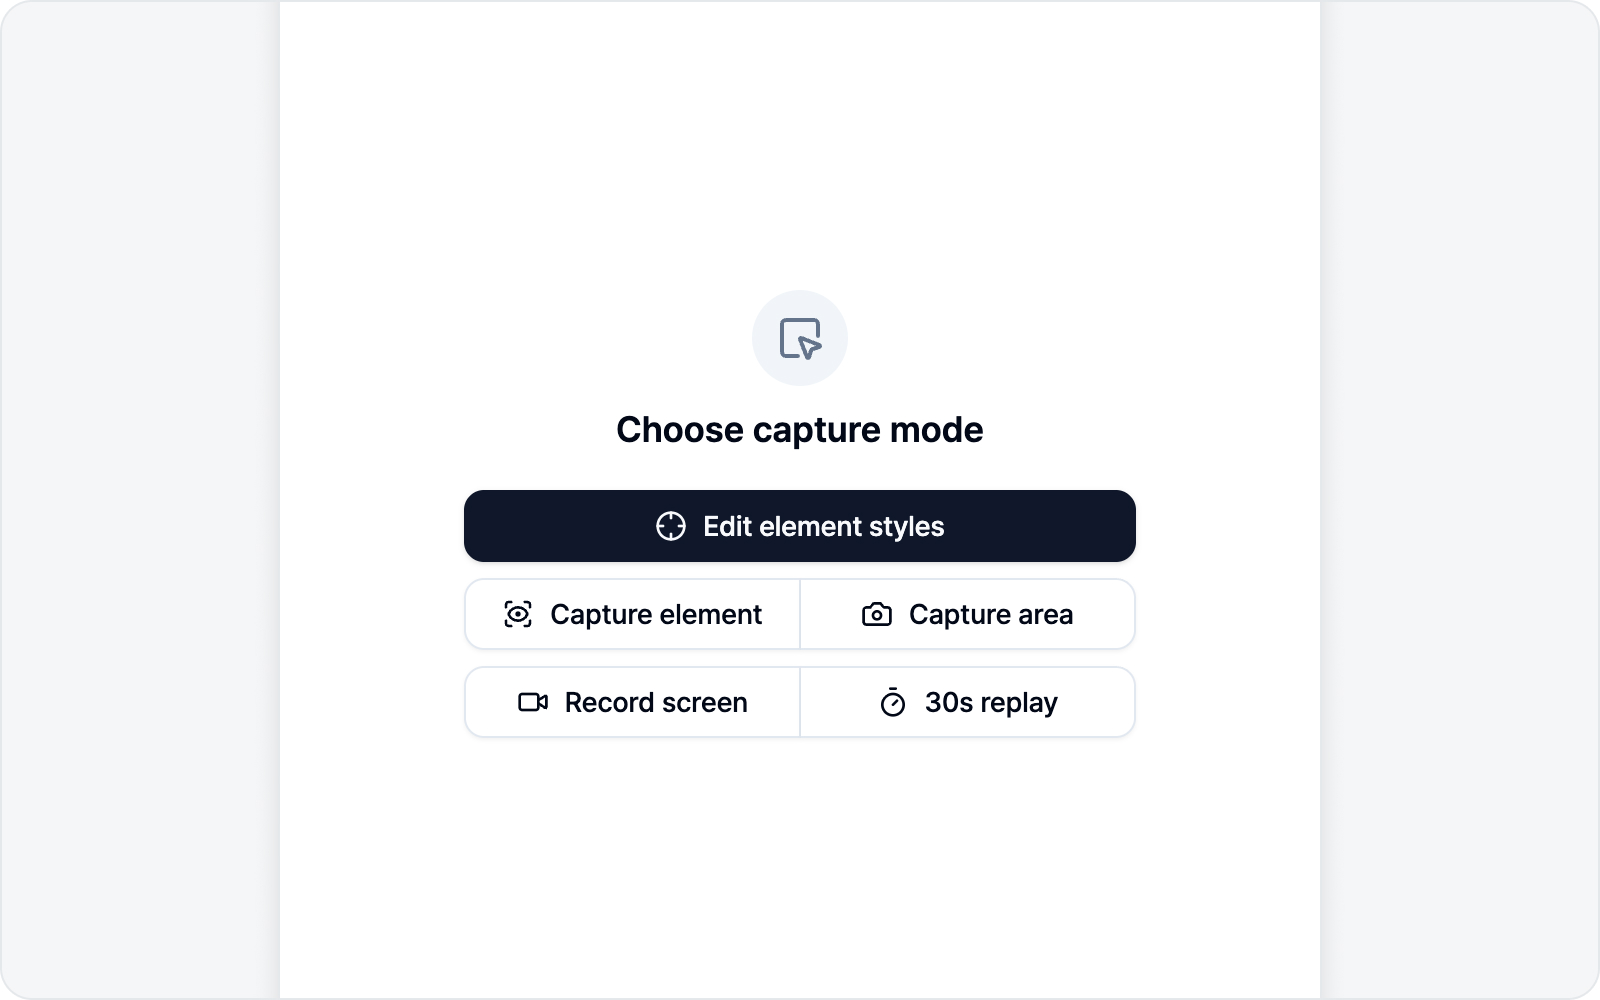 Choosing a capture mode
In the Debug tab, pick a capture mode.
- Edit element style — Pick an element, edit its styles, and report before/after.
- Capture element — Click an element to crop just that element as a screenshot.
- Capture area — Drag a screen region and mark it up.
- Record screen — Record the behavior as a video.
If you're not sure which to pick, Capture area is the simplest place to start.
5. Write the body
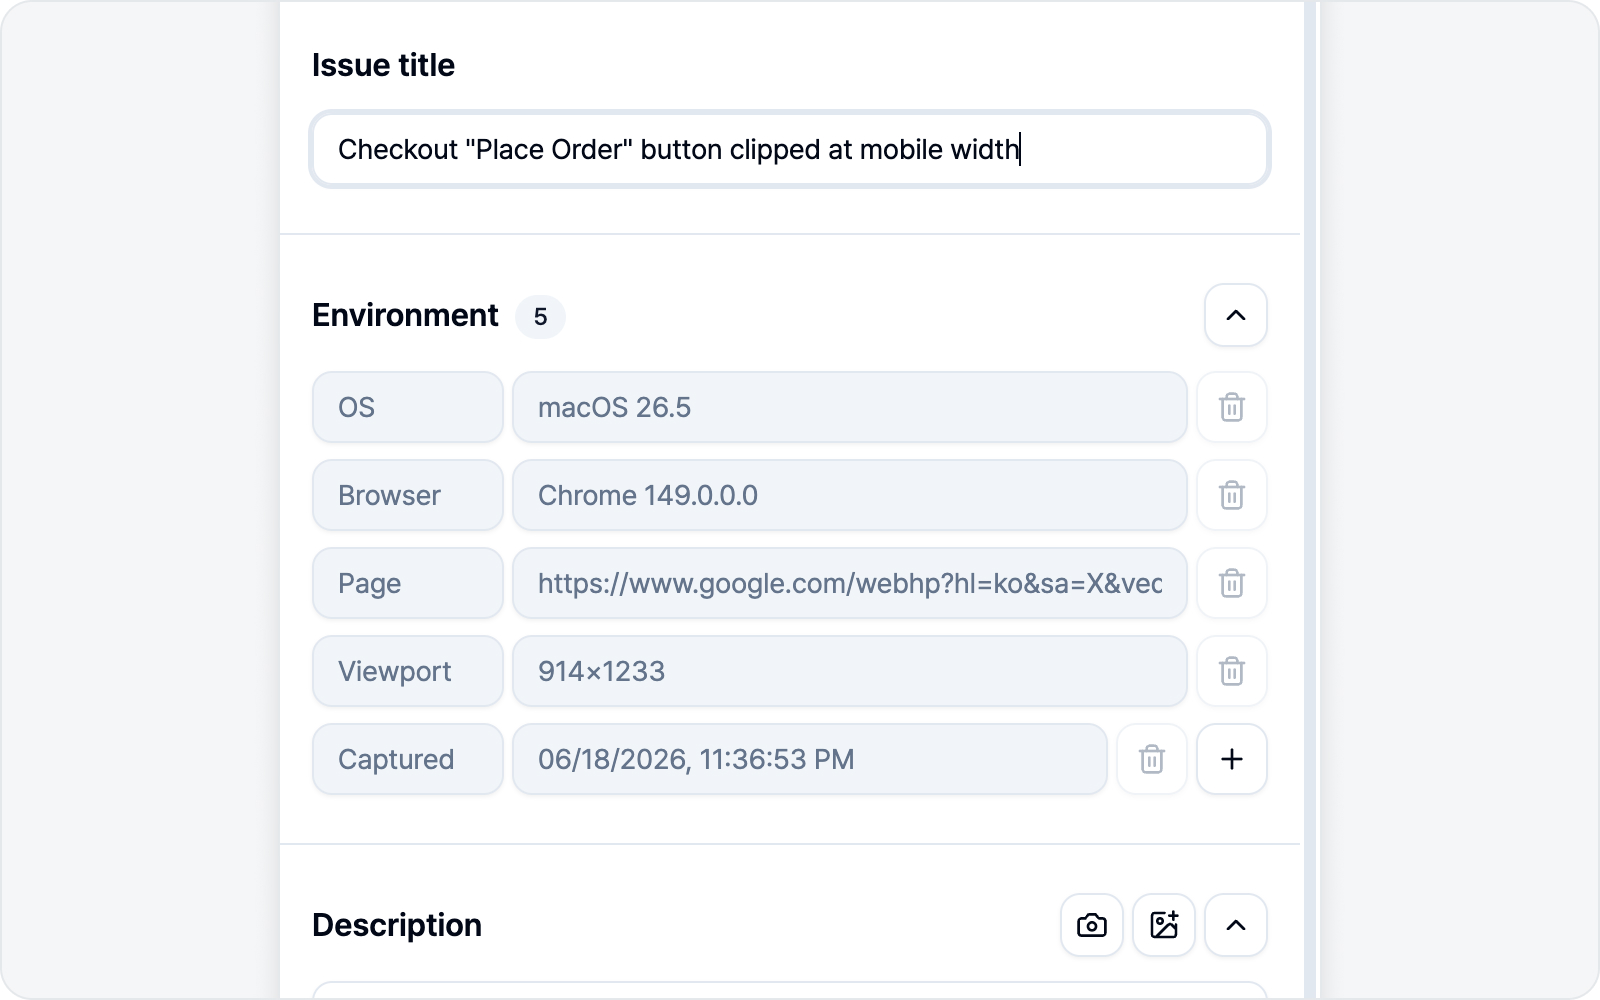 Writing the issue draft
After capturing, you land on the issue draft. Just fill in the title and the Description, Steps to reproduce, and Expected result — the environment (OS, browser, URL, etc.) fills itself in, so don't sweat it.
6. Submit
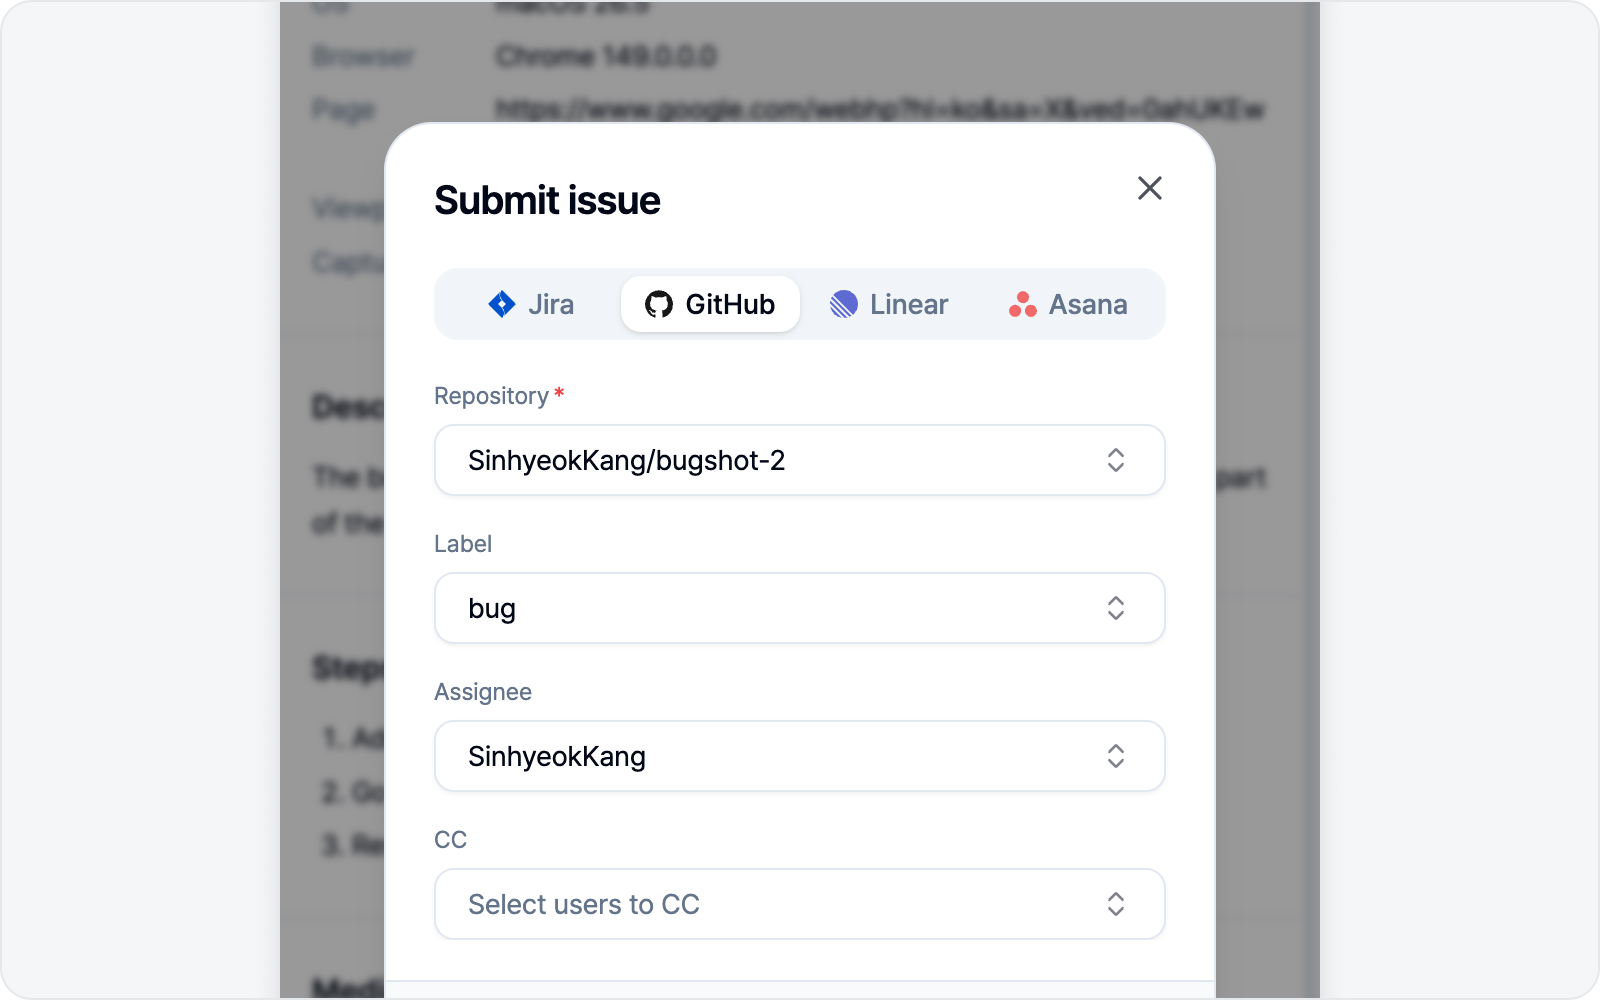 Issue submitted
Give the body a quick look in the preview, fill in the connected platform's fields (project, assignee, etc.), and hit Submit issue. A link to the created issue pops right up.
Want the details of each step? They continue in Inspect & Style, Screenshot, and Recording.